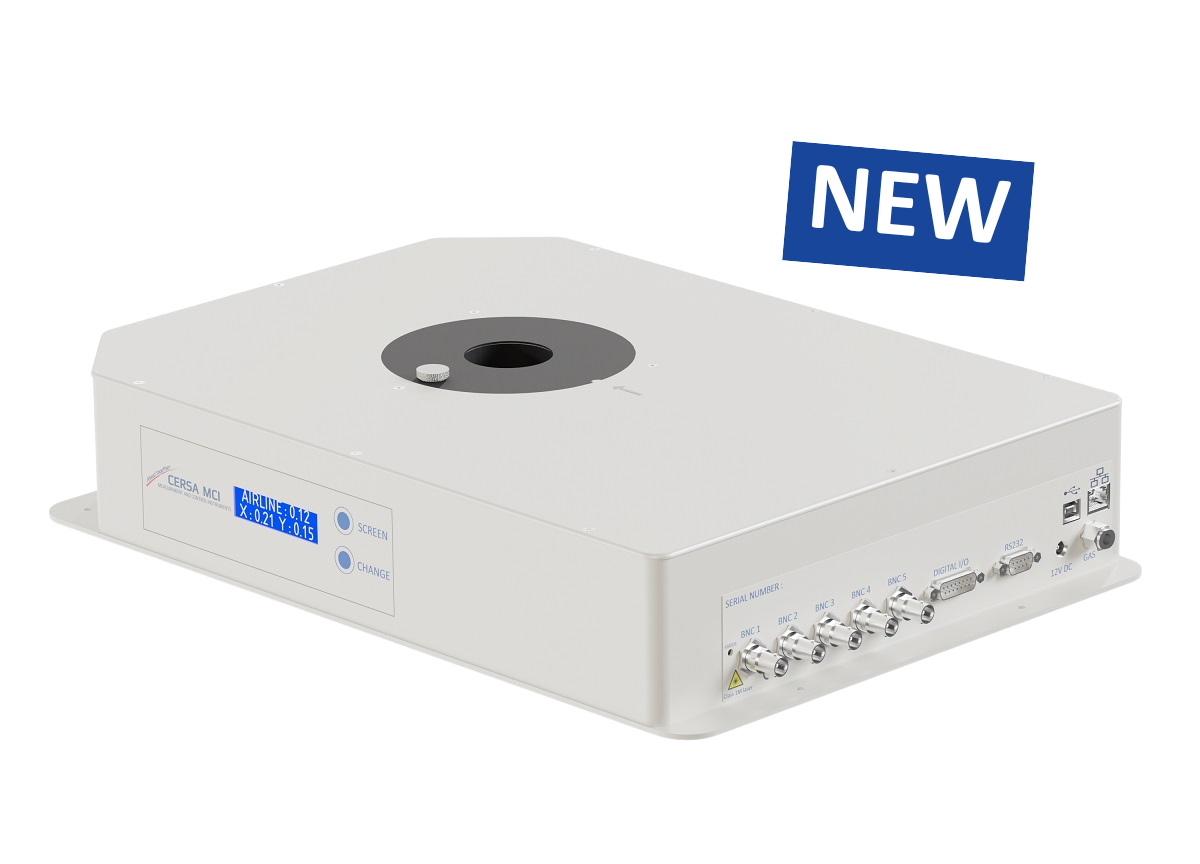
LISG: Laser Interferometric Sensor for Glass


More than a simple diameter measurement of bare optical fiber
Initially used for ultra-fast diameter measurement, CERSA then equipped it with other features for the detection of flaws such as airlines, that can appear in the glass. Fine air cavities in the glass like these can weaken the optical fiber.
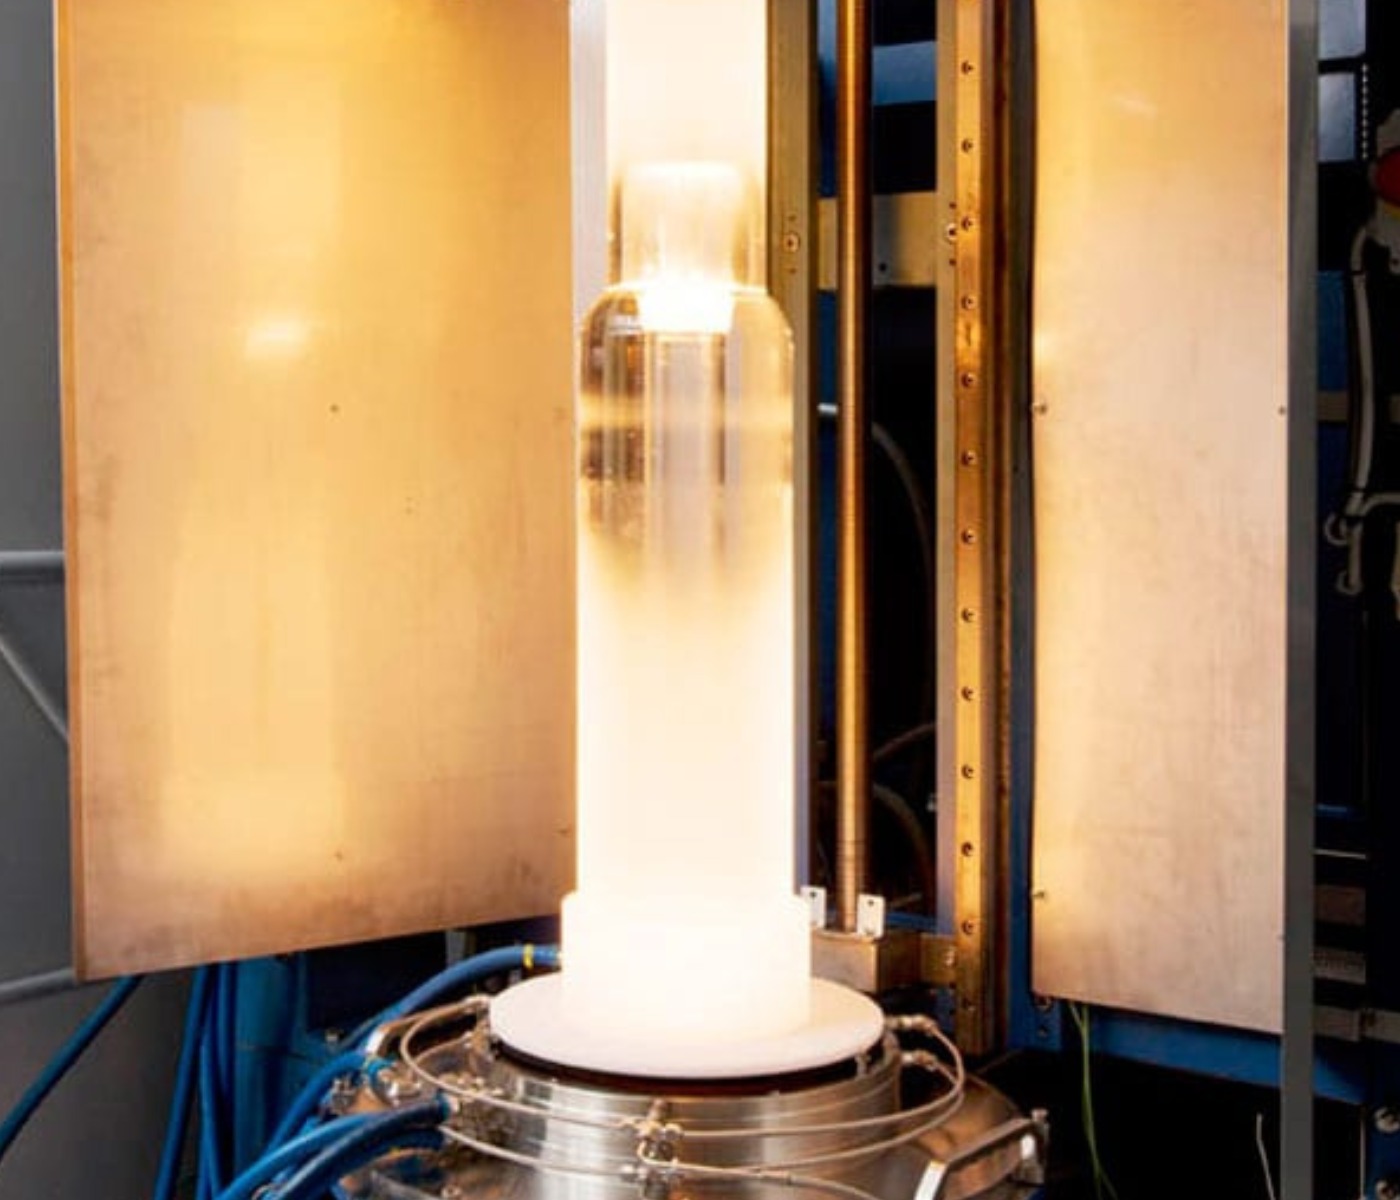
The LISG is also able to calculate the frequency and the spinning profile of the process. That is, the rotation of the fiber about itself, a technique regularly used by manufacturers. A complete system that has won over a demanding public in terms of performance, functionality and robustness. A very large number of fiber drawing towers worldwide, more than 600, are now equipped with an LISG, based on the principle of optical interferometry.

100% laser control and real-time measurements of optical fiber
Its real-time measurement ability is a real advantage for fiber draw towers whose speeds are increasing all the time. An indispensable instrument which, together with other optical fiber measuring products, ensures 100% certification of the quality of your fiber.
The LISG is available in 2 versions : Base and Full
The functionalities of the LISG Base (5,000 measurements/s):
- Absolute measurement of the bare optical fiber diameter (125µm).
- Detection of airlines in the glass
- Detection of internal and surface defects and impurities in the cladding
- X&Y position sensors with uncertainty of +/- 0.1mm help to align on the draw tower.
The additional features of the Full version (50,000 measurements/s):
- Calculation of the spinning characteristics (frequency, imbalance, etc.)
- Cladding non-circularity measurement
- Calculation of the real-time 50kHz peak-to-peak diameter for monitoring the stability of the drawing process
Digital and analog inputs and outputs, RS232 output, fieldbus options, are used to connect the LISG to the tower PLC for control loop needs and measurement analysis.
Our software solution
for fiber optic measurement

CIM Software - Instrument manager
Our advanced CIM PROD PC software is a complete, production quality management tool for operators.
It comes with our instruments to provide their parameter settings, to clearly display the production measurements as well as any detected defects, and to generate real-time parameters and record all the measurements and events in a data base.
The PROD Full version has been developed for IN-LINE fiber optics measurements. Adjustment of tolerances, triggering threshold, and spool replacement are specific features for the production environment.
Our other fiber optic measurement tools

ASYM: Coated fiber asymmetry measurement
The ASYM provides real-time measurement of fiber coating asymmetry, ensuring optimal concentricity even for the latest generation of fine-coated optical fibers. Using a dual-axis laser interferometric system, it analyses light interference patterns to quantify global deviation caused by coating eccentricity.
Primary features :
- Real-time asymmetry measurement for ultra-thin coatings
- Accurate control of coating concentricity
- Fully operational with or without fiber spinning
- Enhanced process stability and defect prevention

AIR: Ultra fine "airline"
100% glass cross-section coverage
The AIR is designed to detect airline defects (bubbles in the preform stretched during drawing) in optical fibers. It uses the interferometric fringe patterns produced by a fiber when placed in a laser beam.
The measurement principle provides ultra fine airline detection, down to 0.3µm. By using 3 measurement axes, the AIR is the only instrument able to detect 100% of the airlines (with or without spinning) by covering 100% of the cross-section. Measurements are fiber position and vibration independent.

NCTM: Non Contact Tension Measurement
Purely optical principle!
The NCTM is designed to measure the drawing force (tension) during optical fiber production. It uses a purely optical principle based on birefringence (light polarization).
Measurement capability from start to finish of the drawing process. Range: 0 - 400 grams, uncertainty: +/- 1 gr

CM5: Coating Monitor 5 axes
All-in-one! Diameter and lump & neck detection
The CM5 is designed for coated optical fiber measurements and for checking for defects during drawing.
With its 5 measuring axes that cover 100% of the surface, and its exceptional measuring speed, the CM5 is the perfect instrument for a complete inspection of the coated fiber :
- Measurement of the outer diameter of the coated optical fiber
- Continuous detection of lump and neckdown flaws
- Detection of internal and surface defects and impurities in the cladding
- Detection of flaws, bubbles, delamination within the coated layers
- Measurement of the asymmetry of the glass within coating layers.
Our accessory tool for fiber optic measurement

CS-FO
The CS-FO is an accessory specially designed for calibrating and testing our fiber optic measurement equipment.
At the request of our main customers, we have marketed this accessory, which can be used to check the correct behavior of each measuring instrument, and to adjust the nominal diameter or tension (drawing force) for a specific fiber.
Articles related to the measuring tools for optical fiber category and the LISG product
Contact the company CERSA MCI
Do you have a specific control and measurement need?
Are you looking for a high-performance control device?
You wish to request one of our services?


